
Since I have joined the “Temperature blanket” group on Facebook I have received quite some compliments about the pattern I have chosen for mine. I have been asked to post a free pattern for my square, so here it is! BTW, if you don’t know what a temperature blanket is I suggest you check the FB page… you’ll find all the infos you need and lots of inspiring pictures 🙂
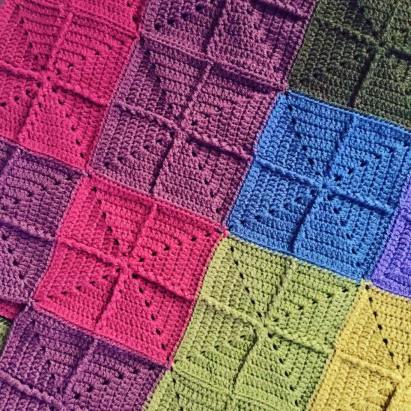
I just wanted to make a square with not too many holes (it was my bf’s only request, he says that blanket with loops look “cold” lol), but that still would add a bit of texture to my crochet blanket. I don’t know if this pattern already existed in any copyrighted version, if it does please let me know and I’ll remove this post.
It’s such an easy and simple pattern that I have just pictured and written down the first 3 rounds. You can make as many or as few as you want, depending on how big your blanket (or other item) is meant to be. My squares consist of 7 rounds and are about 13 cm wide using a 4 mm hook. If I had to remake my blanket I would consider making lesser rounds, as it gets boring sometimes… especially when you’re 3 months behind and desperately want to catch up! But that’s another story 😛
Now on to the temperature blanket crochet pattern!
Abbreviations :
ss = slip stitch
ch = chain
ch3 = chain 3 – takes the place of a dc at the beginning of every round
st = stitches
dc = double crochet
fpdc = front post double crochet (free tutorial available here: http://www.crochetspot.com/how-to-crochet-front-post-double-crochet-fpdc/)
Pattern:
Make a magic loop/ring (4 tutorials available here: http://www.wikihow.com/Crochet-a-Magic-Ring)
Round 1
ch3 (counts as first dc), 2dc, ch2, 3dc, ch2, 3dc, ch2, 3dc, ch2, join with ss to 3rd ch of beginning ch3
{3 x dc along each side, 4 x 2 ch corner spaces}
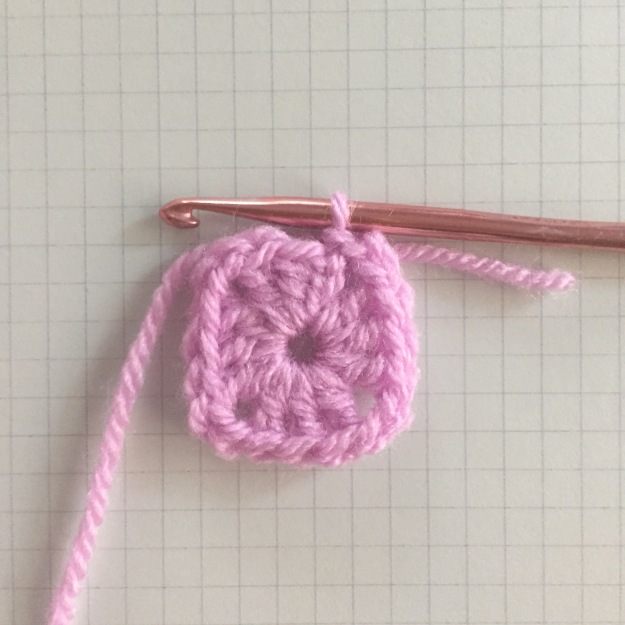
picture shows the first round completed
Round 2
ch 3 (counts as first dc), fpdc in next stitch (central dc of the 3 from round one), dc in next stitch, (2 dc, ch 2, 2 dc) in 2 ch space, first side and corner complete
dc in next st, fpdc in next st (central dc of the 3 made for round one), dc in next st, (2 dc, ch 2, 2 dc) in 2 ch space, second side and corner complete
dc in next st, fpdc in next st (central dc of the 3 made for round one), dc in next st, (2 dc, ch 2, 2 dc) in 2 ch space, third side and corner complete
dc in next sts, fpdc in next st (central dc of the 3 made for round one), dc in next st, (2 dc, ch 2, 2 dc) in 2 ch space, fourth side and corner complete, join with a ss to 3rd ch of beginning ch3
{7 dc + 1 fpdc along each side, 4 x 2 ch spaces}
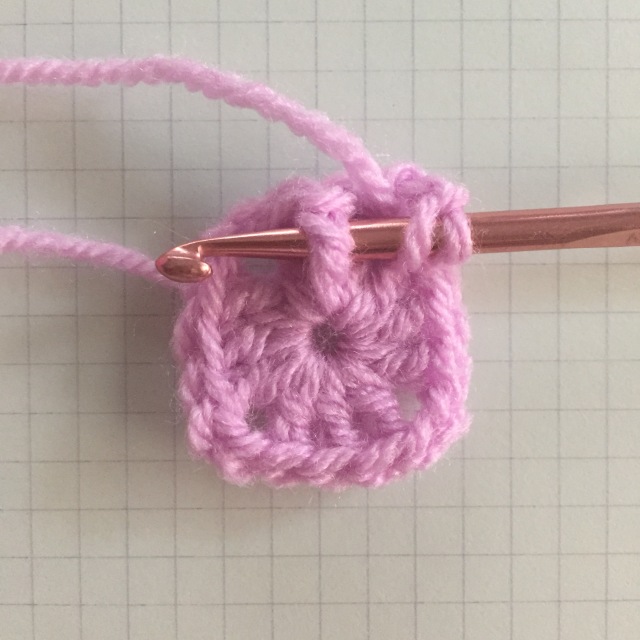
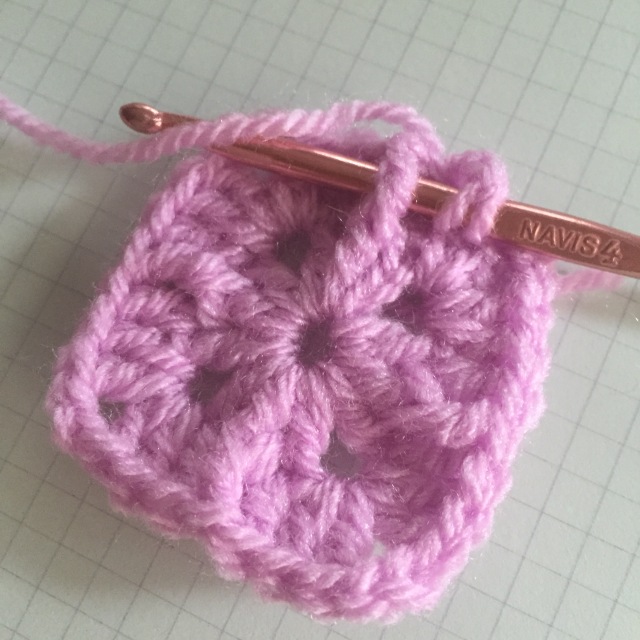
picture shows where you should insert the hook when making a fpdc
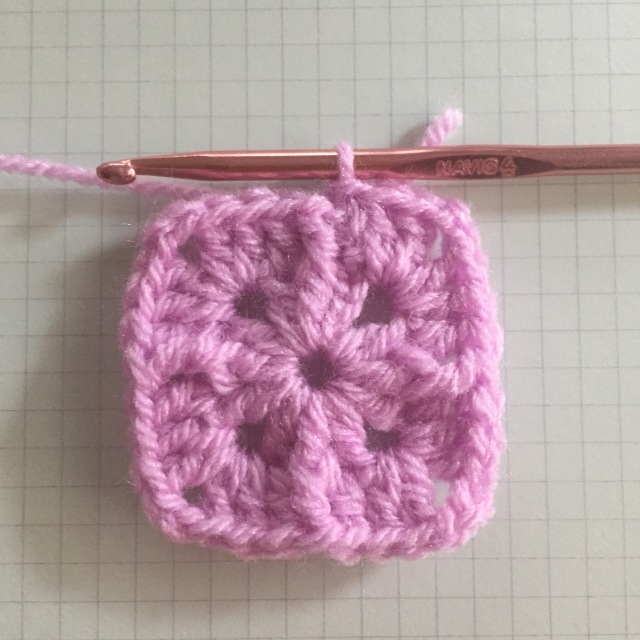
picture shows round 2 once completed. you can see the 4 fpdc’s (one on each side)
Round 3
ch 3 (counts as first dc), fpdc in next stitch (fpdc from the previous round), 1 dc in the next 2 st, (2 dc, ch 2, 2 dc) in 2 ch space [corner]
*1 dc in the next 2 st, fpdc in next stitch (fpdc from the previous round), 1 dc in the next 2 st, (2 dc, ch 2, 2 dc) in 2 ch space* [corner]
repeat from * to * two more times,
1 dc in st before beginning ch3, join with a ss to 3rd ch of beginning ch3
{10 dc + 1 fpdc along each side, 4 x 2 ch spaces}
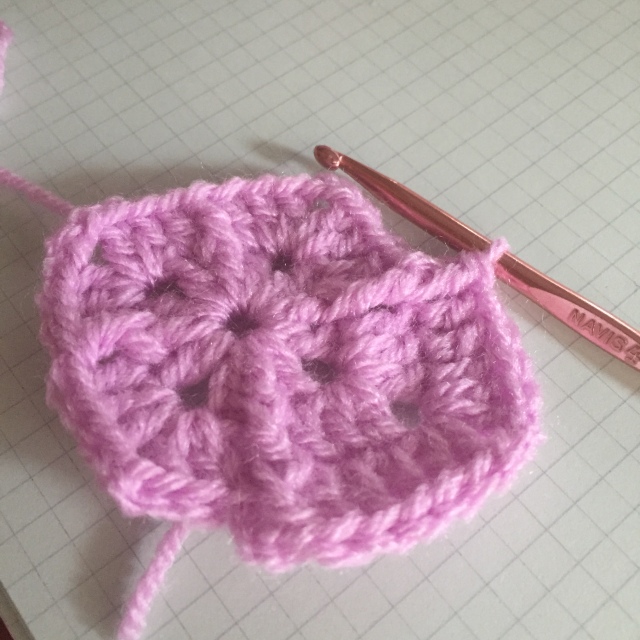
picture shows where you should make the fpdc in every round… just work around the fpdc from the previous round… you can’t miss it!
Rounds 4 to ?
Depending how big you need your square, continue as for round 3. You will have 4 extra dc along each side each round you do.
you’ll soon start seeing the “diamond shape” in the making!
Have fun! and in case you have questions… feel free to ask!
